
Hers.
Confession time. I suffer from a pretty severe fear of unnecessary nail holes, meaning I have a total inability in deciding what and where to hang things on the wall, which ultimately leads to some pretty bare walls in our house. I’ve mostly hidden it from you all, thus far, but it’s time to come clean and fess up with picture proof.
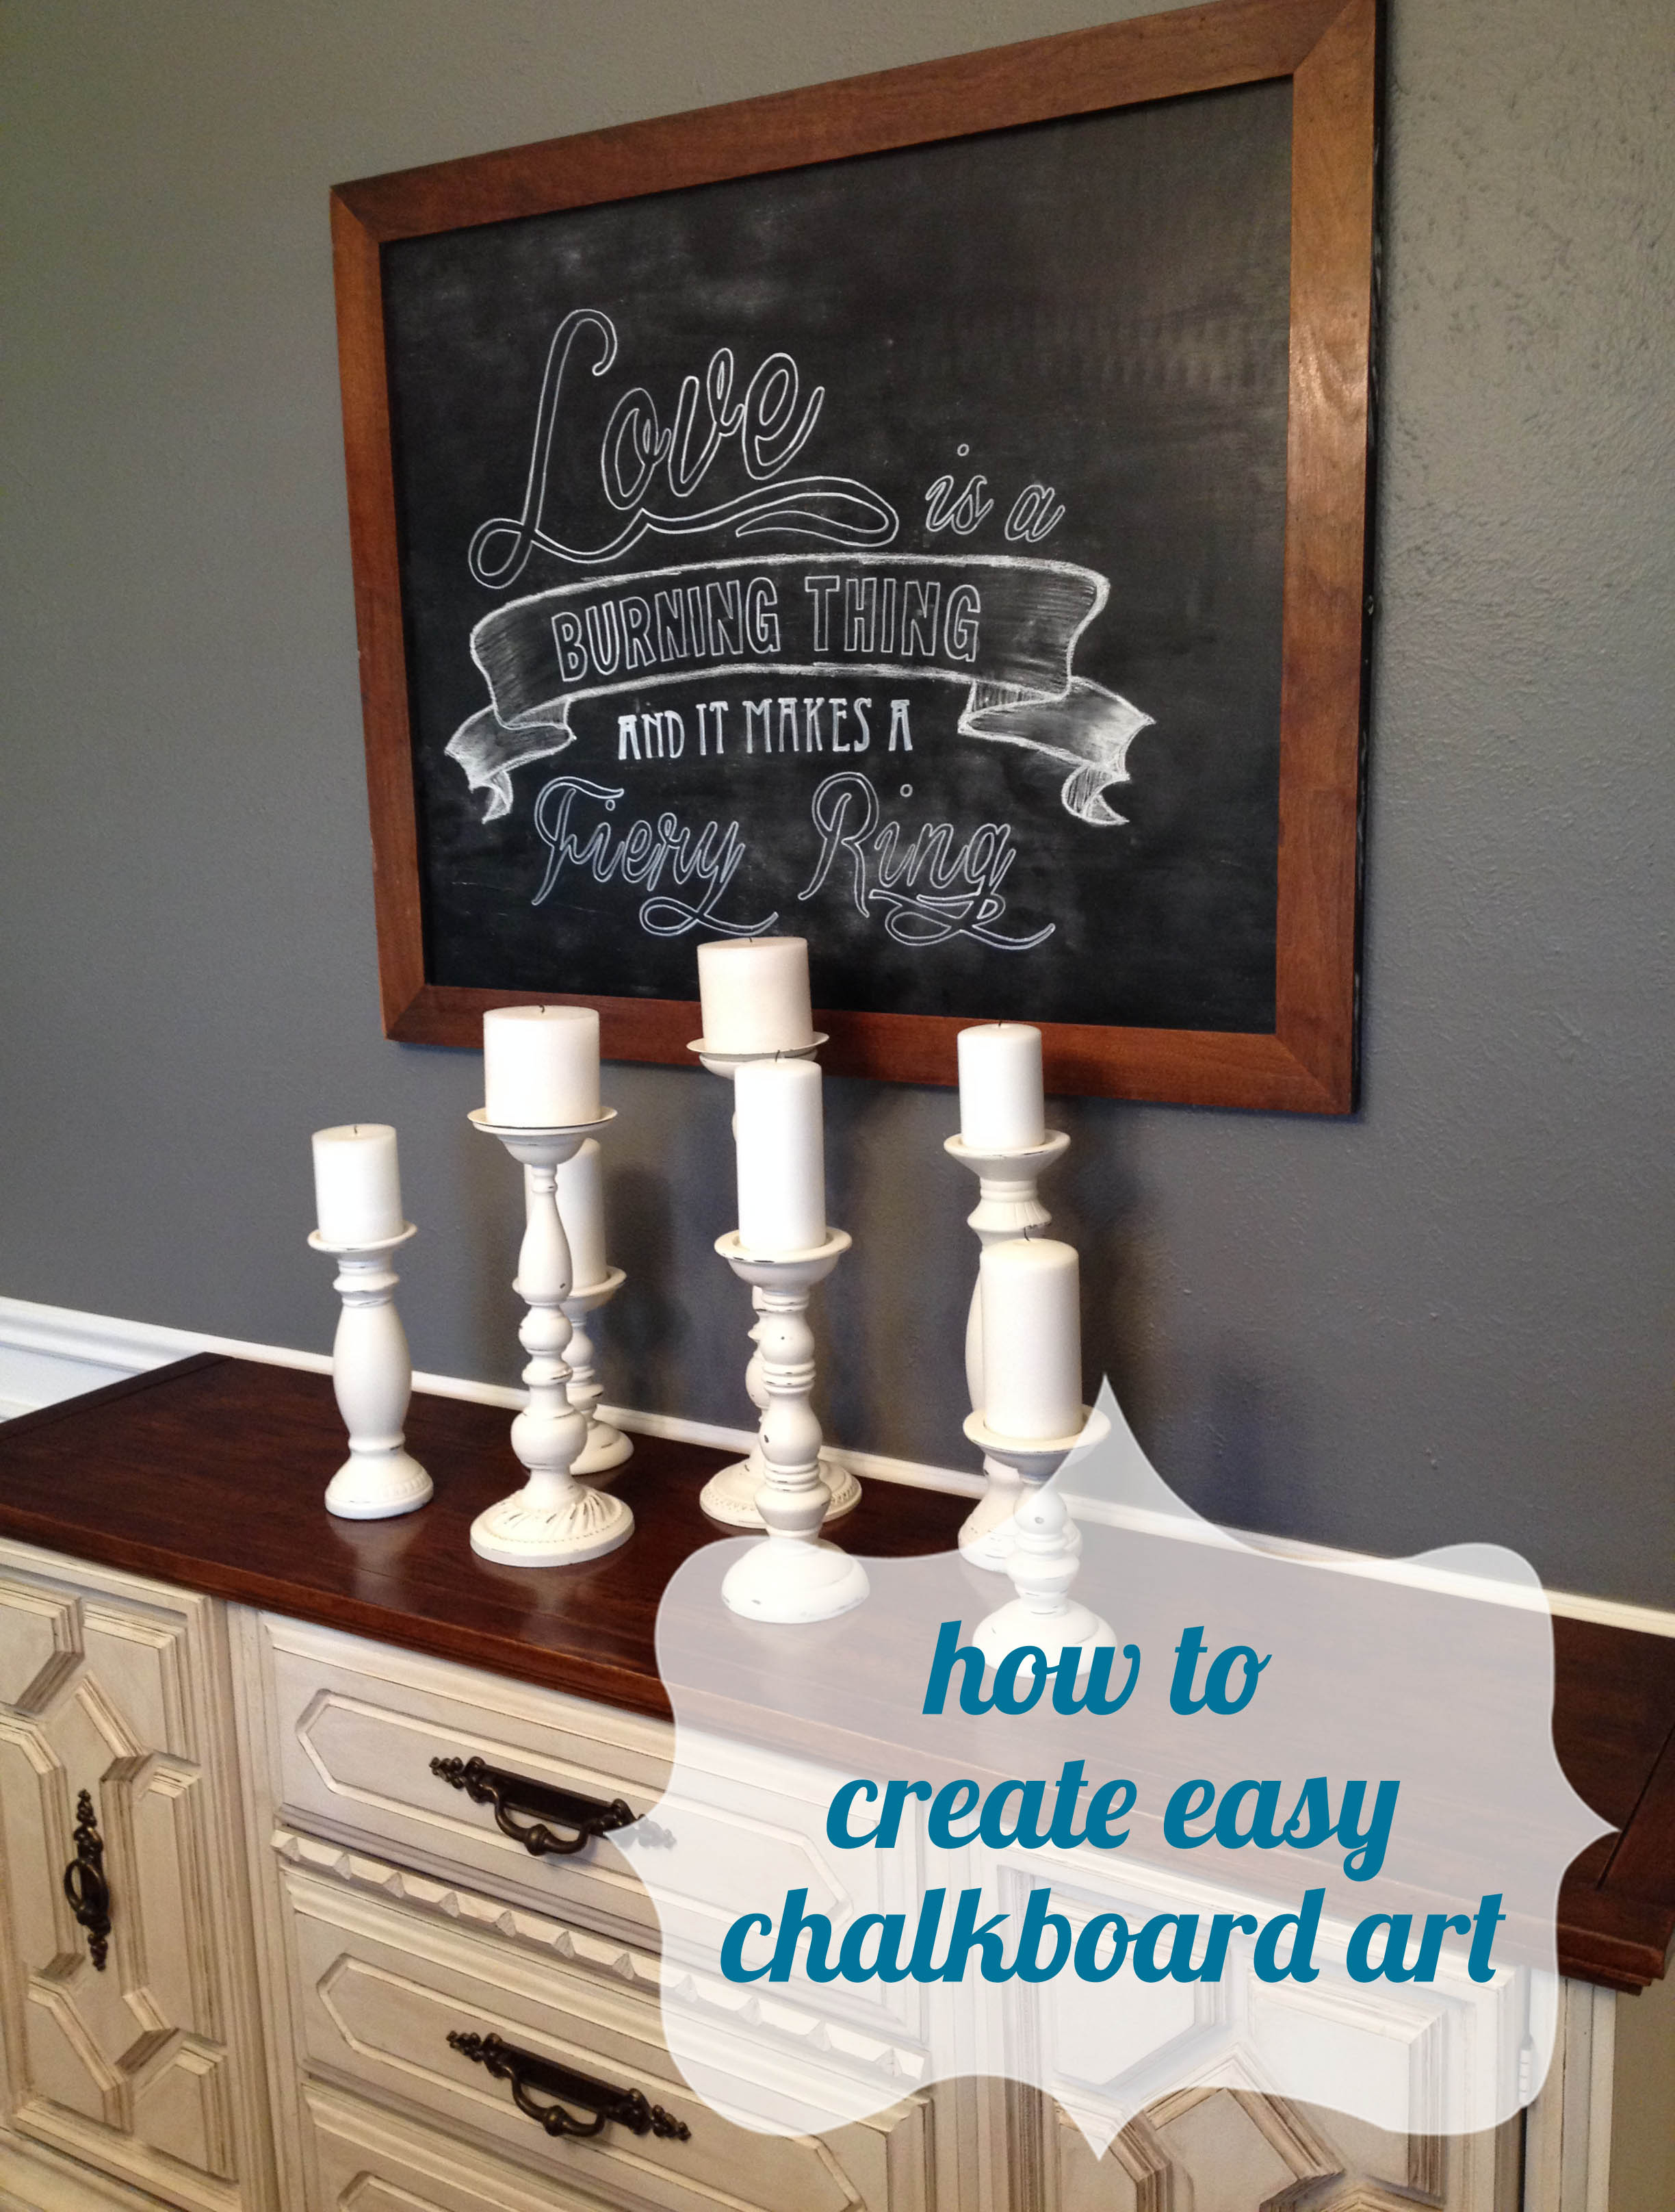
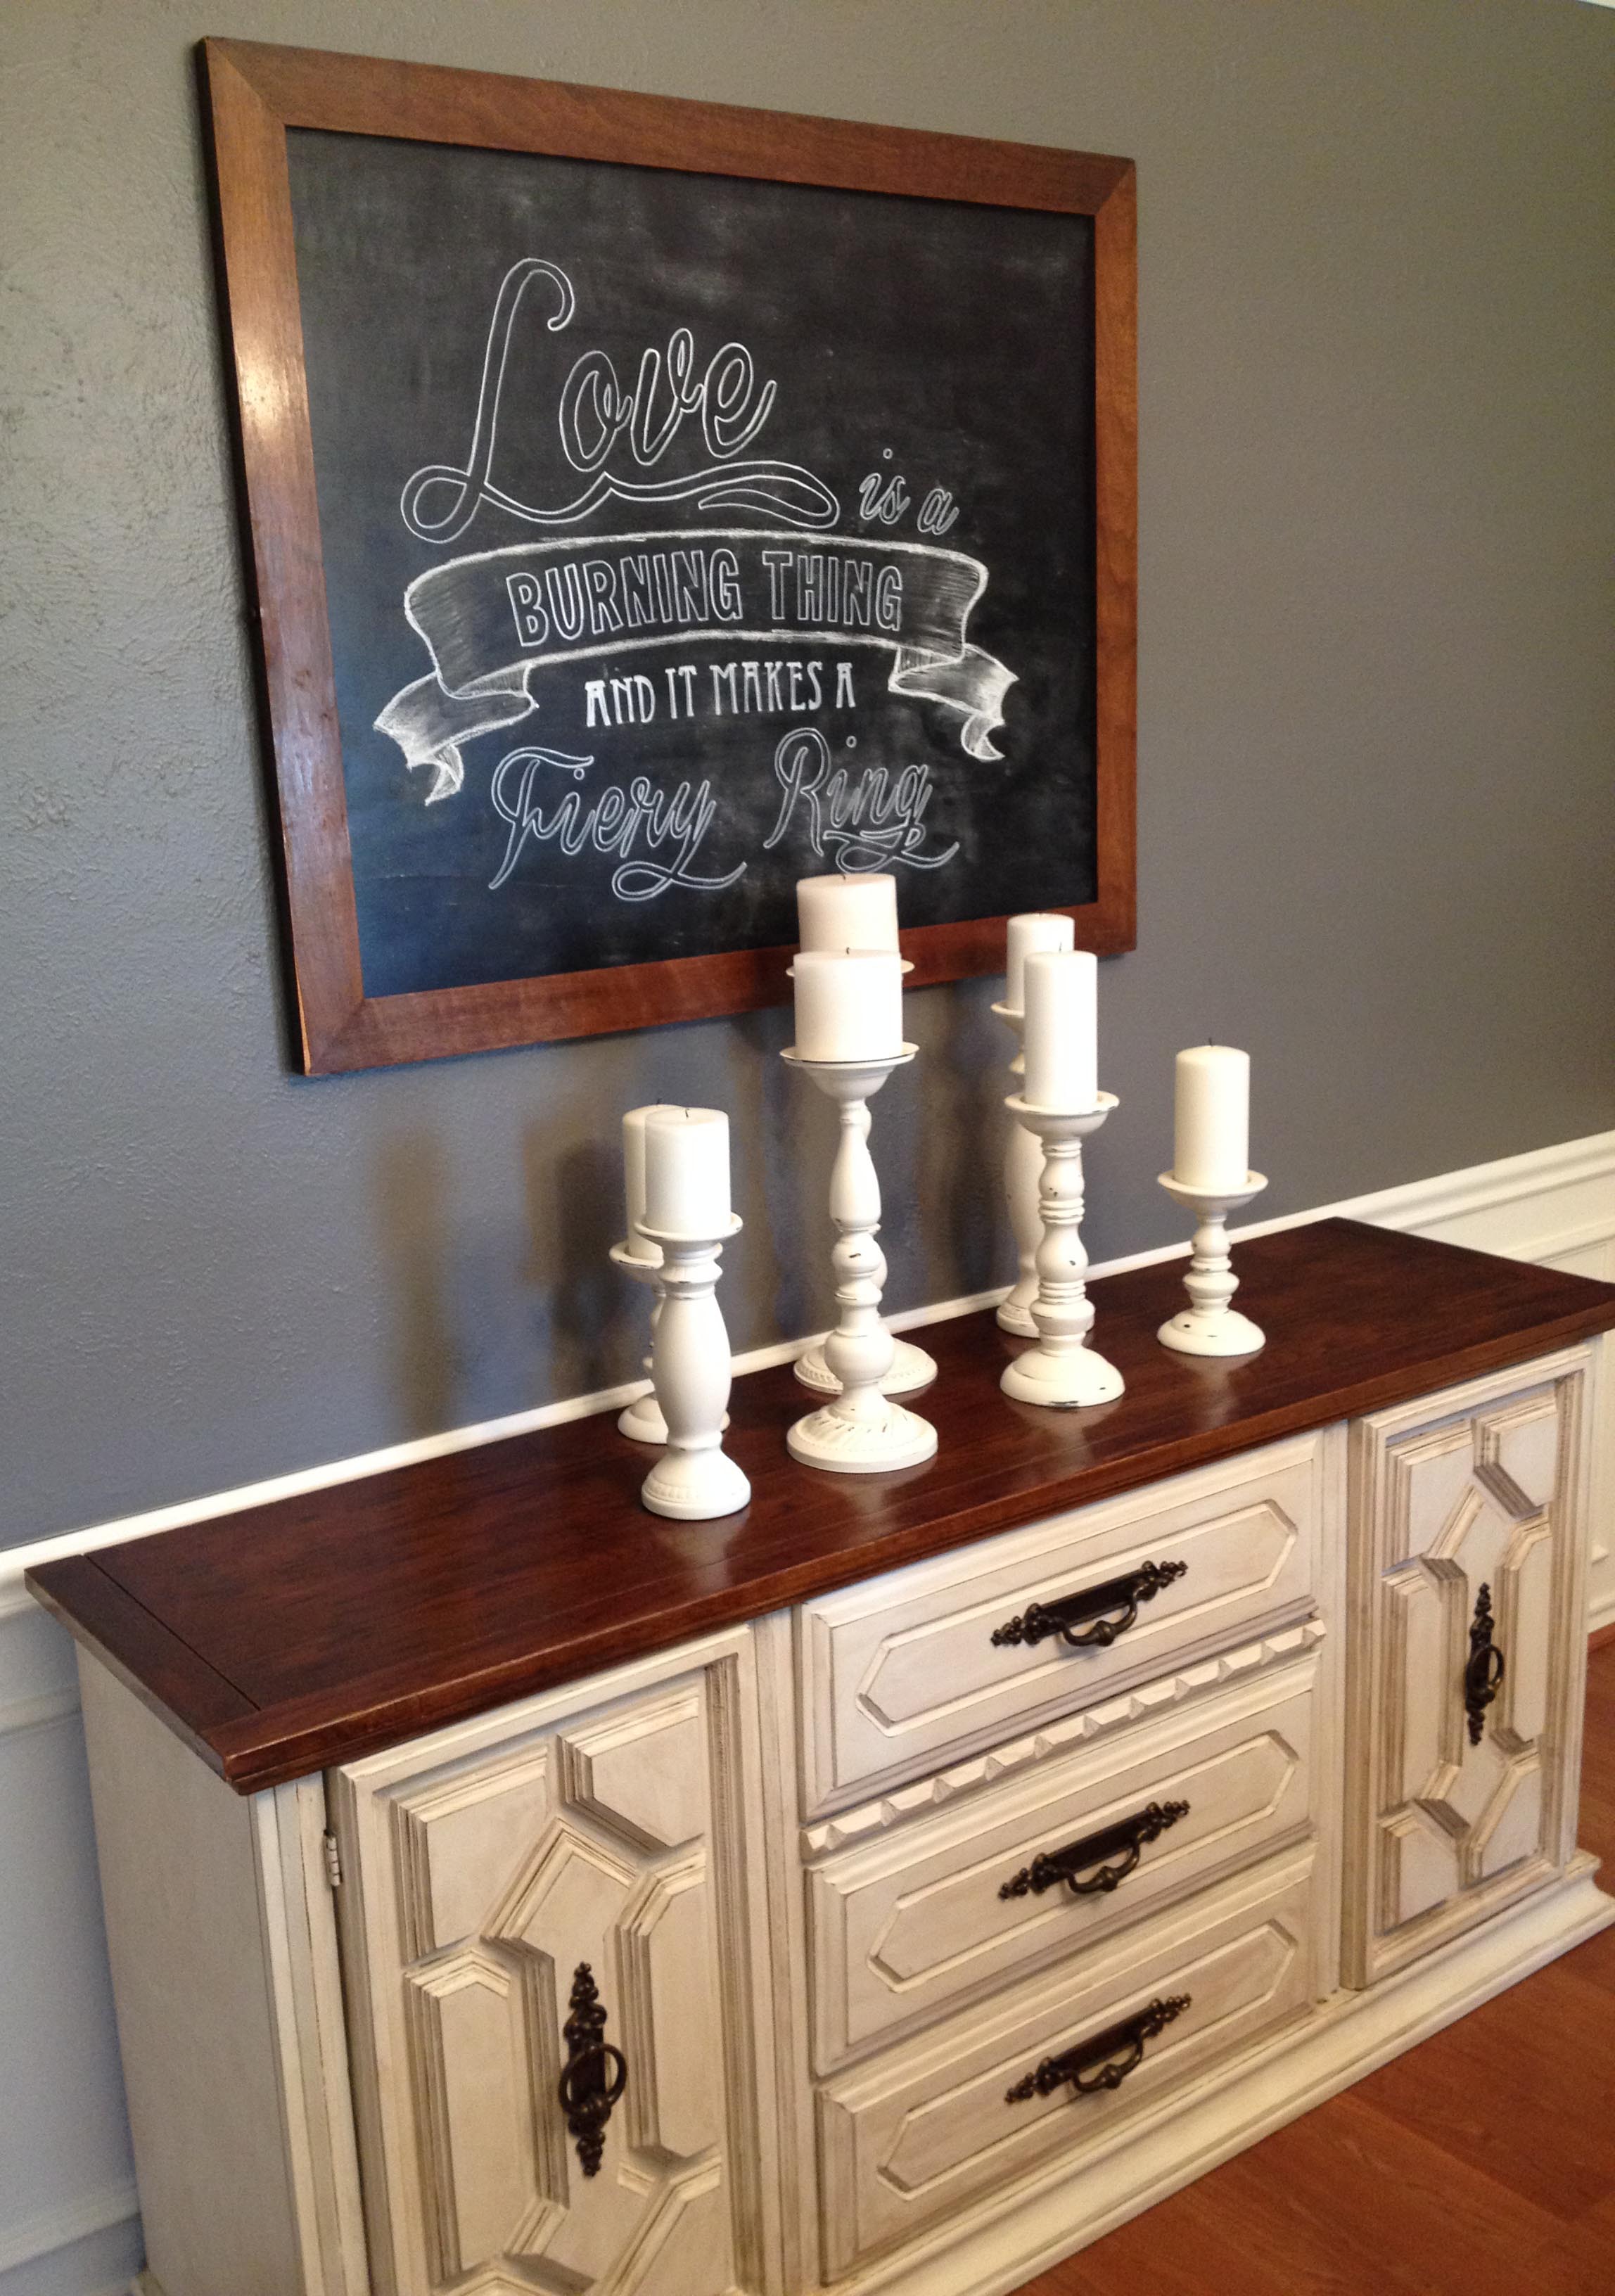
Sigh. Our dining room. It is, by far, the worst offender. I hung the beautiful painting Chris’ grandfather painted on one of the small walls by the window but, four years later, had still not made a decision on what to put on the largest wall above the buffet. Now, for the big reveal… the corner of the dining room I’ve been avoiding to show you…

The walls haven’t remained empty all these years due to a lack of ideas. About twice a month a light bulb would go off and I’d excitedely tell Chris all about my grand plans for that wall. He’d nod and agree, I’m sure figuring I’d never commit and he was safe from any real work.
The real push finally came in the middle of my weekly “Fixer Upper” fix. Anyone else obsessed with that show on HGTV? It almost makes me want to move to Waco… until I remember suburbia already feels like the boonies to me. In one of the more recent episodes, they framed a chalkboard for wall art in the dining room (see below). Feel free to drool over those lanterns above the island with me as well.

Here’s a closer shot- ignore the creepy shot of the people. While I’m confessing, I may as well share that this is a picture I took of my TV while this episode was airing so I would remember the idea. I’d like to say this is the first time but it happens quite a bit… #nojudgments

Now while the idea of using a chalkboard for art isn’t novel by any means, there was something about the frame they used that got me thinking. We had one pretty similar that we had scored for free a few months back. I had used the mirror for something else and the frame had been laying around ever since. I knew I had to find a use for it soon or else it would meet the fate of one of Chris’ garage purges.
The first decision I needed to make was whether or not I wanted this to be permanent. While I love the idea of a chalkboard in theory, I have a few problems with it in reality.
1) I hate the sound and feeling of writing with chalk on a chalkboard. Just thinking about it makes me shiver. Yech.
2) I know way too many kids under the age of 10 (including two brothers with a sense of humor of about an 8 year old) to know that one look at a chalkboard and the art will be a distant memory.
3) I know myself enough to realize that I’ll spend a ton of time laying out what I want to say and how to write it that I’ll never want to erase it and start over.
So, the decision ended up being pretty easy- I was going to make a faux chalkboard with permanent art.
Next came the hardest part- figuring out what to write on it. I filled up a whole Pinterest board of ideas and drove Chris crazy with showing him dozens of options on a daily basis. Should I go with a food pun being that it’s in a dining room or maybe a cliche inspirational quote about homes, hearts, etc.? I ended up deciding on song lyrics, something meaningful to us and something that could work in case I ever decided to move this into a different room.
And what screams “let’s dine in the fancy room” more than the man in black? Well, maybe not, but one of Johnny Cash’s songs is pretty sentimental to us so the decision was made and away we went.
Now, get ready to have your mind blown. This is seriously way easier than I ever expected it to be and I’m going to use this transferring trick all the time. Once I finally figured out what I was doing and laid out the art, this took no time at all to complete. Here are the six easy steps to transferring a printed image and pulling off a chalkboard look.
Materials Needed:
- Plywood
- Flat black paint (or chalk paint for erasable option)
- Fine tipped white paint pen (or chalk for erasable option)
- Chalk
- Ballpoint pen
- Printed piece of artwork
- Tape
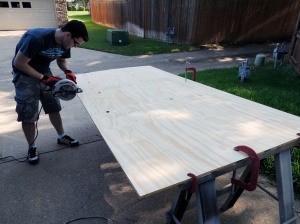
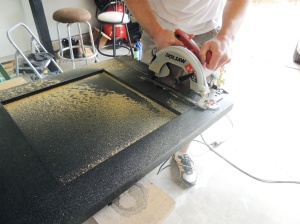
Step One: Cut a piece of plywood down to the size desired and paint with flat black paint. Again, I wanted something permanent but you could also do this with chalkboard paint if you wanted something erasable. I ended up painting two coats for an even look. I left it overnight to dry completely. Pre-paint tip: sand the plywood thoroughly for a smooth surface- I used two different grit sandpapers to achieve the smoothest finish.

Step Two: print out your artwork. You can print it on any printer- black/white, color, laser, inkjet, anything. I wanted a pretty big piece so I had to print my artwork in a panel fashion then tape together. If you want to be really fancy, you can print it on one oversized piece of paper at a copy shop but paneling and piecing together works just fine- you’re not keeping the paper anyway.
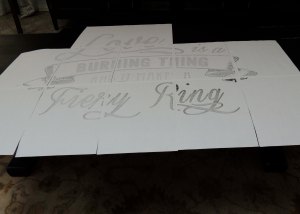
Step Three: With the side of a piece of chalk, rub the back of each piece of paper and retape it to the board in the final pattern desired.
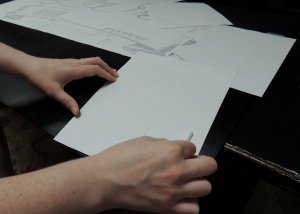
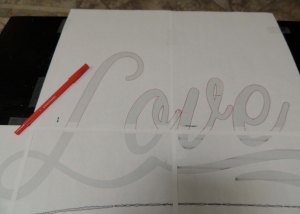
Step Four: With a ballpoint pen, trace the lines of the artwork. Press pretty hard so the image transfers clearly. I used a red pen so I could see where I had traced.
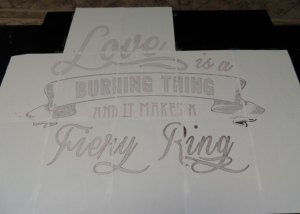
Step Five: After tracing the full piece, remove the paper. You’ll see faint white lines on the board that will serve as a guide for this step. Using a fine tipped white paint pen (or piece of chalk if you want to keep it erasable), trace over those transfered lines for a clear image. Tip: I removed the papers one by one and did this in stages so I didn’t accidentally smudge the lines with my palm as I traced.


Step Six: You’re almost there! To make it really look like an authentic chalk board, rub the side of a piece of chalk across the board and smooth with your hand for the chalked background effect.

Boom. Chalkboard art! I really don’t know why I waited so long to do this. This was seriously one of our easier (and quickest) projects! It makes me want to do it again… and again… Hey, Chris, what do you think about a full wall of chalkboard art? Muhaha.
His.
Confession time. I hate country music. Actually, that’s not much of a confession. Anyone who knows me knows that, as Joe Dirt would say, “I’m a rocker, dude, through and through!” It all sounds like twangy complaining intertwined with shout-outs to step mommas, guns, and trucks, and I find it really irritating- the exception, of course, is Johnny Cash. While I’d consider his style more in line with rockabilly, he is widely regarded as the godfather of country music, and he’s one of everyone’s favorite artists. In fact, I don’t know anyone who doesn’t like at least one Cash song, and frankly, I wouldn’t trust anyone who didn’t.
The song he is most renowned for is, by far, Ring of Fire. While there is some controversy surrounding when, why, and by whom the song was originally written, there is no question that it’s proven to be one of the greatest and most unique love songs ever written. And it’s awesome. So when Julie came to me with the idea that it be immortalized in our dining room, I was totally on board.
Now, here’s the problem: she wanted to do a chalkboard. Last time we did a chalkboard we ended up going for a ride on the failboat, so I was hesitant to give in. After some debate, though, we decided that since we wanted the piece to be permanent and only look like a chalkboard, we could get away with using regular paint. The best part of this project, though, is that Julie had saved an old frame from some other project that had gone awry (why, I’ll never know) and we were finally going to get it out of the garage (it had only gotten in my way EVERY time I tried to do ANYTHING in there)!
Now, making a fake chalkboard is actually pretty easy. The frame originally housed a mirror and had a piece of plywood over the back, so I just pried off that piece and cut it down to size to fit inside the frame. Next, I primed one side and painted it black. We had some weird amalgamation of various sheens of black paint that we decided to use, and we BARELY had enough for two coats… but since the whole thing was getting smeared with chalk anyway, we figured any thin spots would be covered up.
The final order of business, once the art was actually transferred onto the wood, was mounting the wood in the frame. Since the wood was actually a different thickness than the mirror had been, we weren’t able to reuse the same mounting tabs. So, being the lazy fellow that I am, I just ran some short screws into the backside of the frame overlap:
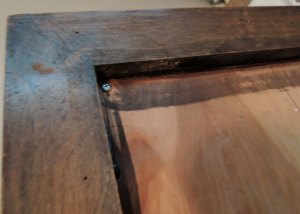
Boom. Fake chalkboard.
After.

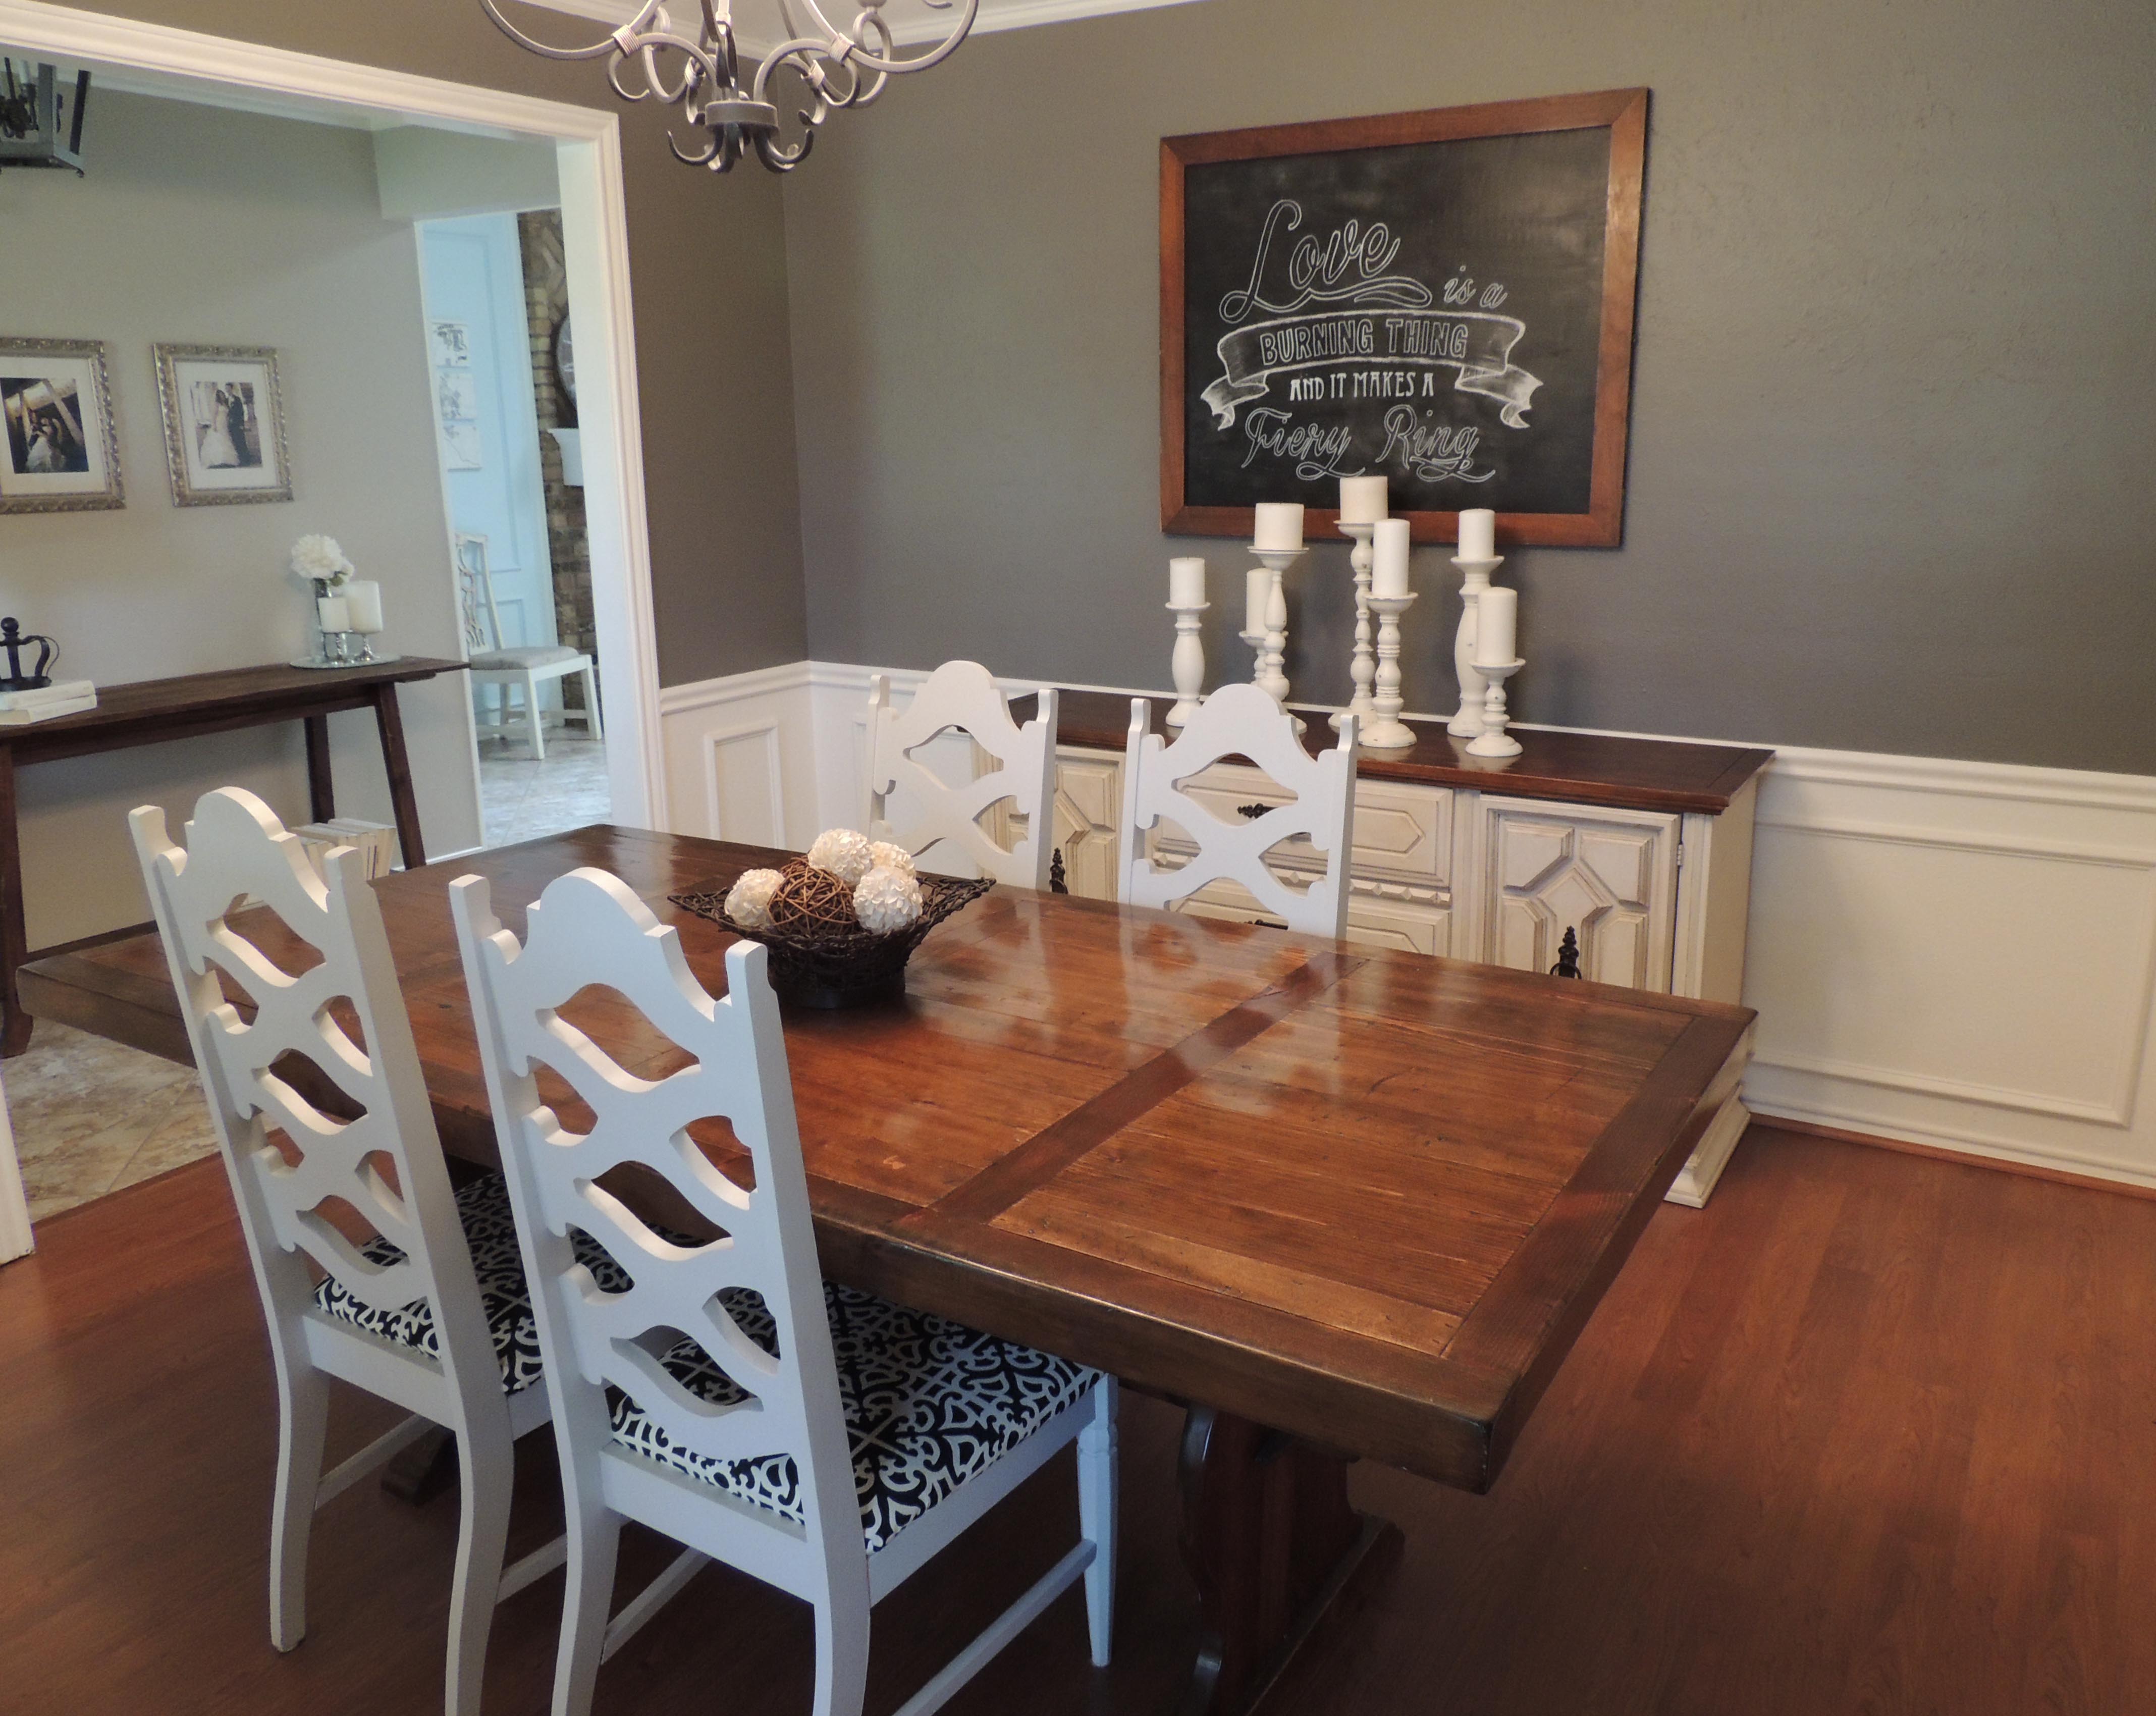
Hers.
I’d like to say I’m on the path to “empty wall syndrome” recovery but I have quite a few walls left to go. At least one room has finally been conquered. And here’s a fun picture I dug up. Here’s where the room started when we first bought the place (the furniture in the picture was the seller’s before we moved in). And for those of you who haven’t heard the story of that fabulous leopard print/black fringe chandelier, catch up here.


